Unity UI Extensions
Gradient2
Apply vertex colours in a gradient on any UI object

Contents
1 Overview
3 Methods
4 Usage
6 See also
Overview
Apply vertex colours in a gradient on any graphic UI object

Properties
The properties of the Gradient2 control are as follows:
| Property | Description |
|---|---|
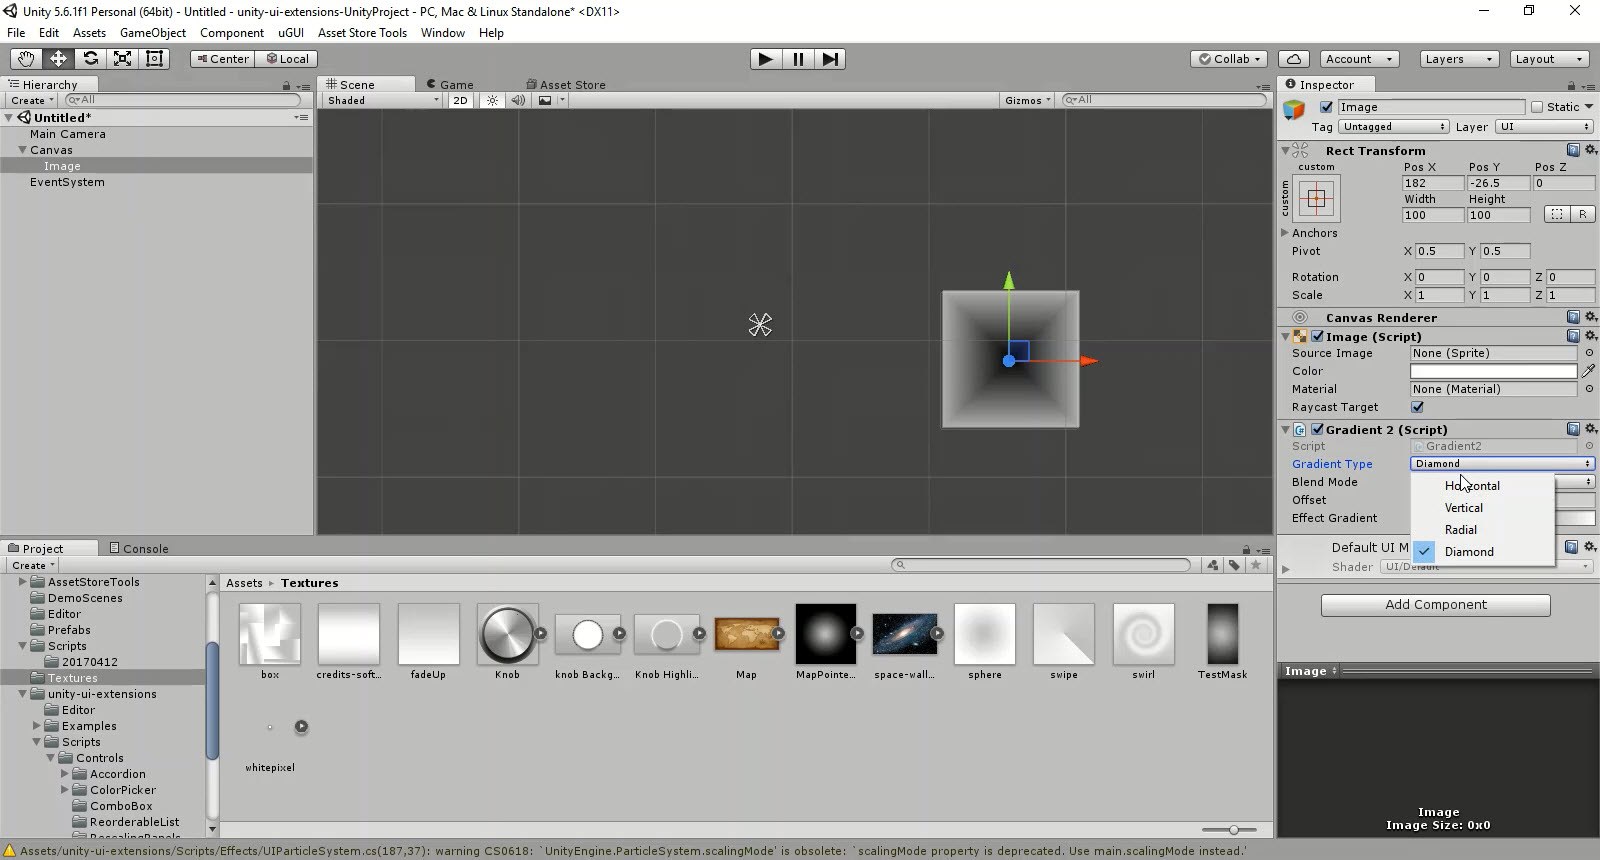
| Gradient Type | The Type of Gradient to be used: Horizontal / Vertical / Radial (inside to outside) / Diamond |
| Blend Mode | How should the gradient apply: Override / Add / Multiply |
| Modify Vertices | Change the vertices of the image to apply the gradient |
| OffSet | How much of the gradient should be applied, allows for grading in the gradient (all inception like) |
| Zoom | Zoom in to the effect Gradient at the specified offset |
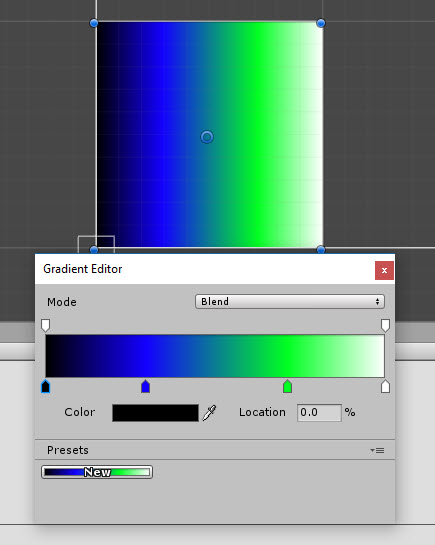
| Effect Gradient | A gradient scale using the Unity Gradient tool which allows setting of multiple gradients |
Methods
This component does not expose public methods beyond inherited behaviour.
Usage
To enable the Gradient component, simply add the component to a UI Graphic Object using:
“Add Component -> UI -> Effects -> Extensions -> Gradient2”
[!NOTE] The control works based on the base vertices of the UI object it is applied to. If the object only has 4 vertices (a Quad like the base image) it can only project values between 0 & 1, meaning mid values on the gradient can’t take effect. To improve the gradient on a GO, the base object will need enough vertices to apply the gradient, a quad is not sufficient. May look to add a control to the project to improve the resolution of a base image / quad to add more vertices in the future.
Video Demo
Click to play
See also
Credits and Donation
- Brad Nelson (playemgames)
- David Gileadi
